Introduction
Hydro dipping, also known as water transfer printing, is one of the most fascinating and visually satisfying painting techniques available today. It allows you to apply complex, high-quality designs onto almost any object—no matter how irregular its shape. From car parts to phone cases, hydro dipping has become popular among hobbyists, artists, and even large-scale manufacturers.
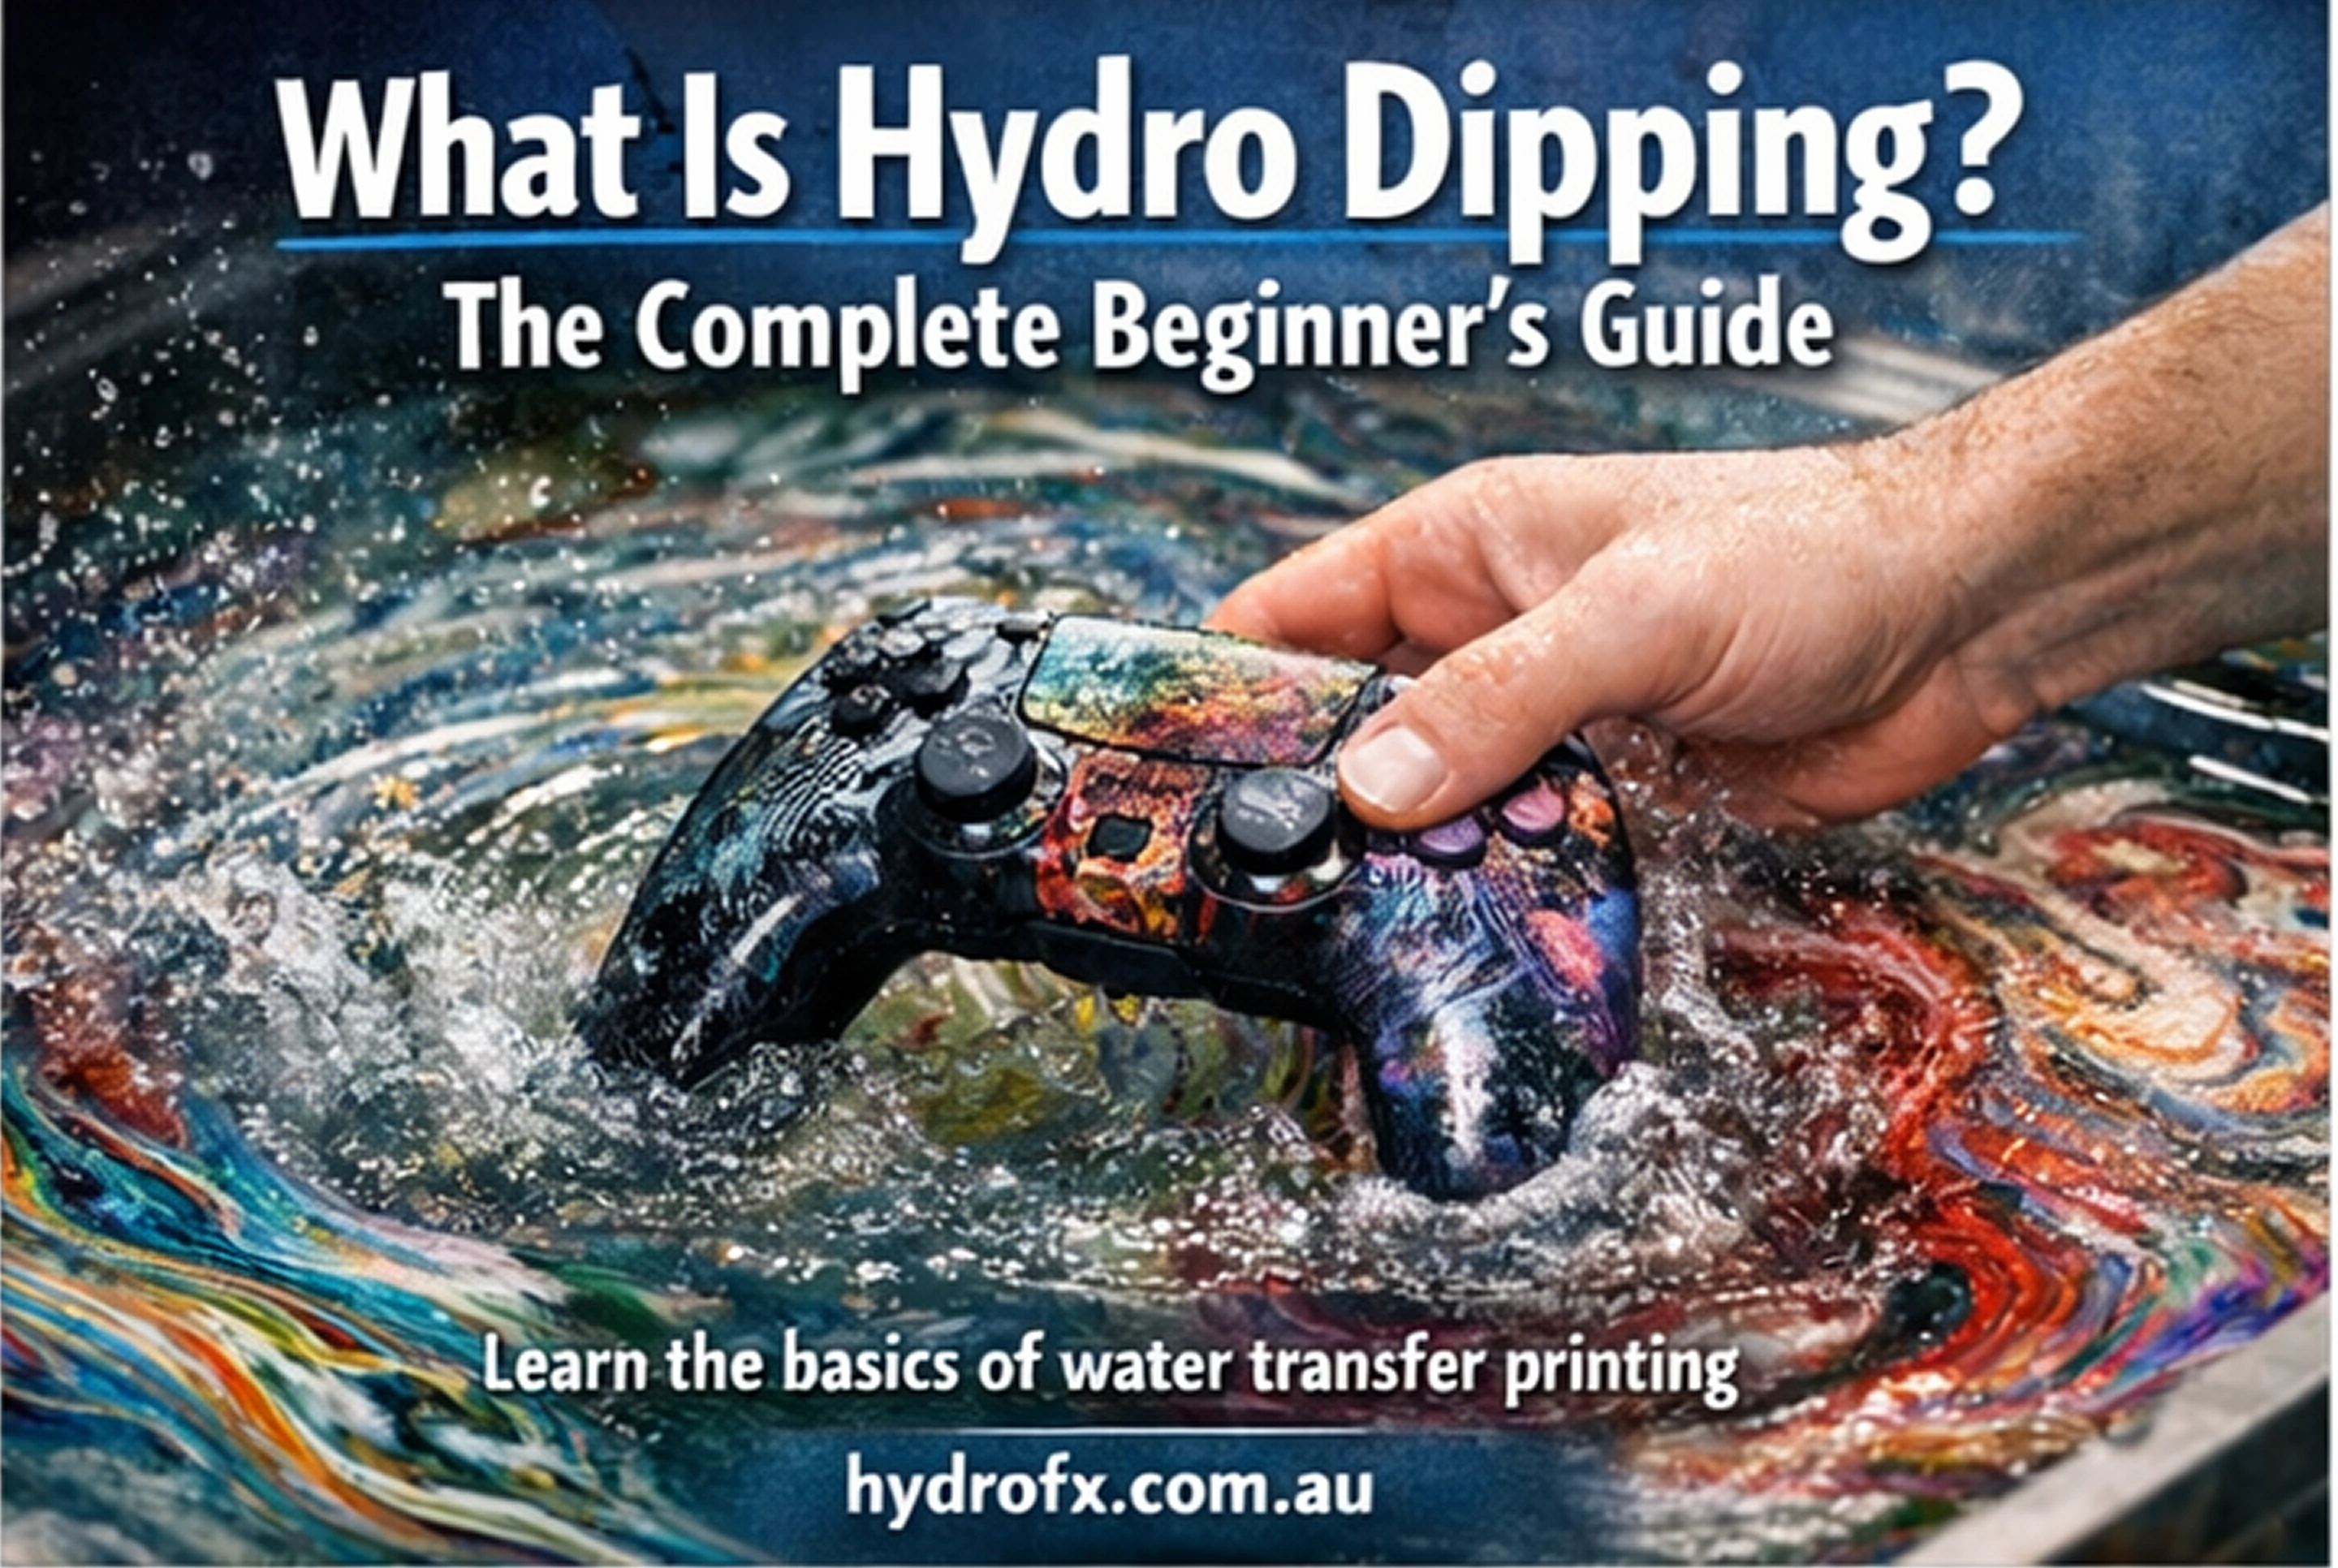
If you’ve ever seen a controller with a marble pattern or a helmet with a camouflage finish and wondered how it was made, there’s a good chance hydro dipping was involved.
The Basic Concept
At its core, hydro dipping works by floating a special film on water and then transferring that design onto an object by dipping it through the surface. The film dissolves into ink when activated, allowing it to wrap around the object seamlessly.
Unlike traditional painting, which can struggle with curves and edges, hydro dipping naturally conforms to any shape. This is what makes it so powerful.
Materials Needed
To get started with hydro dipping, you’ll need the following:
A container filled with water
Hydrographic film (printed patterns)
Spray activator
Base coat spray paint
Clear coat finish
Gloves and mask for safety
These materials are relatively affordable, making hydro dipping accessible even for beginners.
Step-by-Step Process
1. Surface Preparation
Before dipping, the object must be clean and smooth. Dirt or oil can ruin the final result. Sanding is often recommended for better paint adhesion.
2. Base Coating
Apply a base coat that complements your film design. For example, a white base works well with bright patterns, while black enhances darker designs.
3. Preparing the Film
Cut a piece of hydrographic film slightly larger than your object. Place it gently on the water surface, ensuring no air bubbles form.
4. Activating the Film
Spray the activator evenly. This dissolves the film into a liquid ink layer floating on the water.
5. Dipping the Object
Slowly dip the object at an angle. The ink wraps around the surface as it passes through.
6. Rinse and Dry
After dipping, rinse off excess residue and let the object dry completely.
7. Apply Clear Coat
Finish with a protective layer to enhance durability and shine.
Advantages of Hydro Dipping
Hydro dipping offers several advantages over traditional painting:
Works on complex shapes
Produces consistent patterns
Offers endless design possibilities
Relatively low cost to start
Common Mistakes Beginners Make
Dipping too fast or too slow
Using too much or too little activator
Not preparing the surface properly
Choosing the wrong base coat color
Learning from these mistakes is part of the process, and with practice, results improve significantly.
Final Thoughts
Hydro dipping is more than just a painting technique—it’s an art form. With minimal equipment and some creativity, you can transform everyday objects into stunning pieces. Whether you're customizing personal items or starting a business, hydro dipping offers endless possibilities.